Make the Most of Every Cut: From Tender to Tough with the Right Cooking Technique

Make the Most of Every Cut: From Tender to Tough with the Right Cooking Technique
In many American kitchens, the tender cuts often steal the spotlight, while the tougher ones are left behind. But with the right cooking method, even the most inexpensive and fibrous cuts can turn into juicy, flavorful dishes. Making the most of every cut isn’t just about saving money—it’s about honoring the whole animal and reducing food waste. Here’s how to get the best out of everything from filet mignon to chuck roast.
Know Your Muscles
Different muscles do different jobs, and that affects how they should be cooked. The hardworking muscles—like the chuck, brisket, and shank—contain more connective tissue, which makes them tougher but also richer in flavor. The less-used muscles, such as tenderloin and ribeye, are naturally tender but milder in taste.
Once you understand the difference, you can match each cut to the right cooking technique. Tender cuts need quick, gentle heat, while tougher cuts require time and moisture to become tender.
Slow Cooking – The Secret to Tenderizing Tough Cuts
Tougher cuts shine when they’re cooked low and slow. Over time, the connective tissue breaks down, turning the meat soft and succulent. Classic methods like braising, slow roasting, and using a slow cooker or sous vide are perfect for this.
- Chuck and shank are ideal for stews, pot roast, or pulled beef.
- Brisket and short ribs become melt-in-your-mouth tender when cooked for hours in the oven or smoker.
- Oxtail and beef cheeks are full of collagen and transform into silky, rich dishes after long simmering in broth or wine.
Patience is key—the longer the cook, the better the result.
Quick Cooking for Tender Cuts
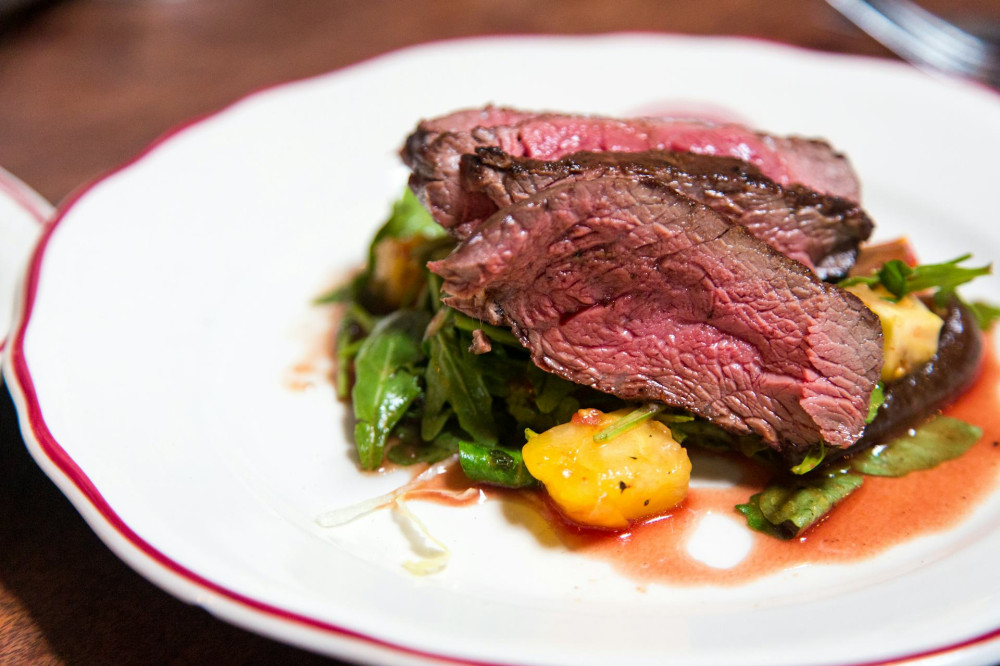
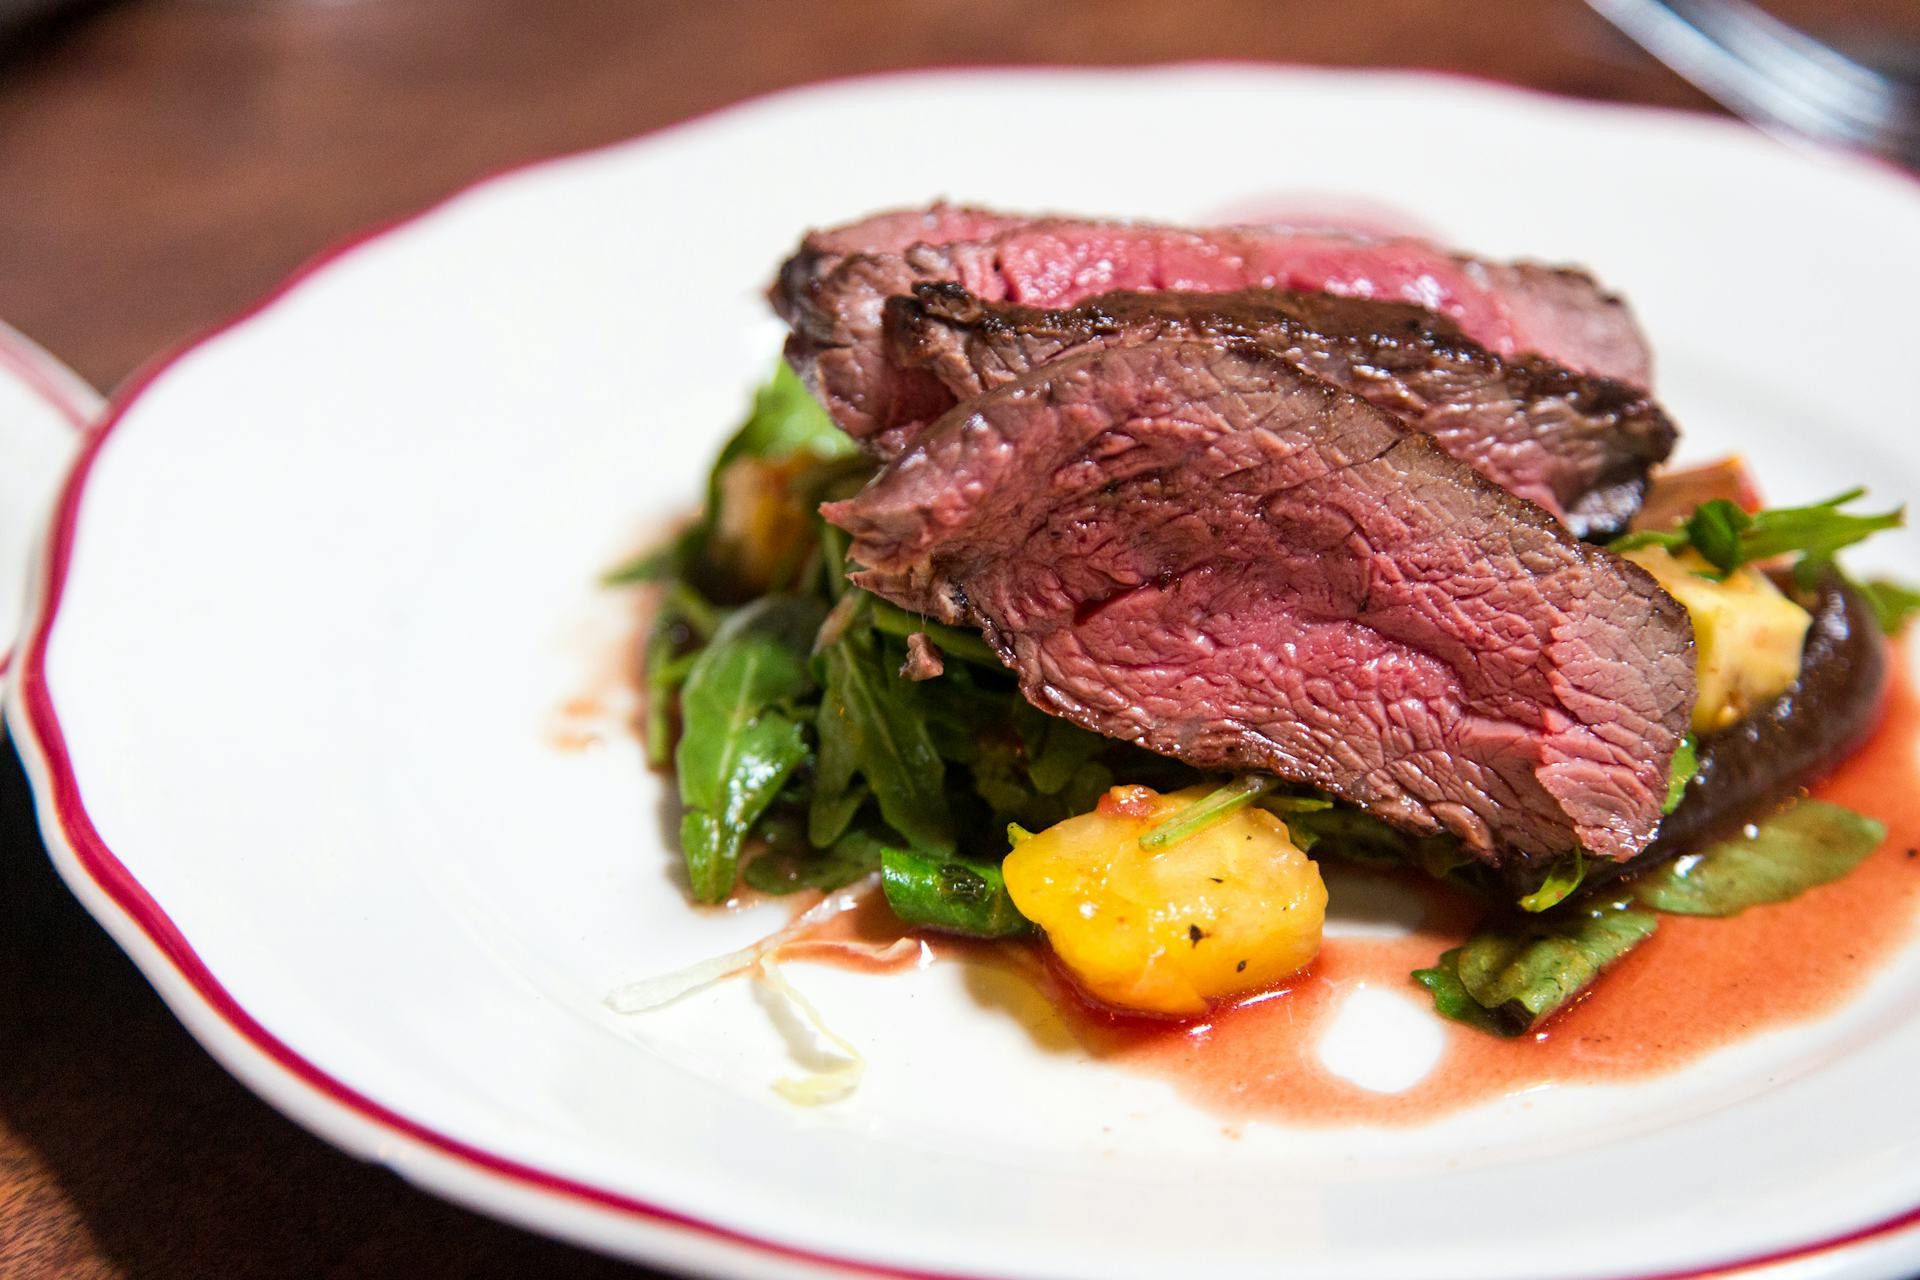
Tender cuts like tenderloin, ribeye, and sirloin need a completely different approach. The goal is to preserve their natural juiciness and avoid overcooking. A quick sear in a hot skillet or on the grill creates a flavorful crust while keeping the inside tender and pink.
Always let the meat rest for a few minutes after cooking. This allows the juices to redistribute, making every bite more flavorful and tender.
Læs også:


Use the Whole Cut – and the Leftovers
When you make use of the entire cut, you get more meals and more variety. For example, a large roast can be divided: the tender portion can be used for steaks, while the tougher end can be slow-cooked for shredded beef. Leftovers can be turned into tacos, sandwiches, or hearty soups.
Even bones and trimmings have value—simmer them into a rich stock that forms the base for sauces, soups, and gravies. That way, nothing goes to waste.
Temperature and Resting Time – Two Keys to Success
No matter the cut, temperature control is essential. Use a meat thermometer to hit the perfect internal temperature. For example:
- Beef tenderloin: 130–135°F for medium-rare
- Pot roast: 190–200°F for fall-apart tenderness
- Braised cuts: around 195°F, when the connective tissue has fully broken down
After cooking, let the meat rest under foil for 10–20 minutes. This simple step makes a big difference in both texture and taste.
A Sustainable Approach to Meat
Making the most of every cut is also a step toward sustainability. By using the whole animal, you reduce waste and support more responsible meat consumption. Many local butchers and farmers’ markets offer lesser-known cuts that are both affordable and delicious.
Learning how to cook them properly not only improves your meals but also deepens your appreciation for the craft of cooking.
From Tenderloin to Brisket – Every Cut Has Its Place
There are no bad cuts of meat—only the wrong cooking method. Each part of the animal has its strengths, and with a little knowledge and patience, even the toughest cuts can become culinary highlights. Next time you’re at the butcher counter, try something new—you might discover your next favorite dish in a cut you once overlooked.
Læs også: